by BDsbigZRX
Foreword:

For plastic welding I use a standard soldering iron from Home Depot or Lowes. I use the flat-tip attachment. This soldering iron cost about $11, I’ve used it for years. Plug it in and give it 5 minutes to get hot. You can weld just about any plastic with this little device.
NOTE: You MUST have good ventilation while performing the plastic welding process!!!!!!
DO NOT try this without venting the fumes!!!!

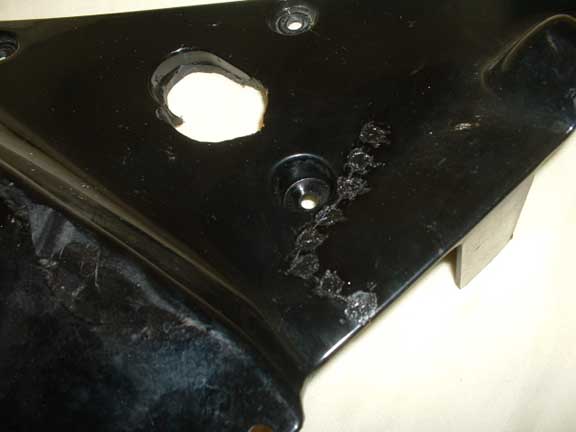
STEP 2:
Start on one side of the crack. Hold the piece/pieces in place, and begin by letting the tip melt about halfway into the depth of the plastic, melting the plastic from about 1/8” to 1/4" on each side of the crack. Use the soldering iron to “push and pull” the melted plastic over/into the crack, and then smooth it off a little. You’ll notice if you take too long, the heat makes the plastic “bouncy” and harder to work with. Move quickly, and don’t stay in that one area too long. It should only take about 6-10 seconds to make each “stitch”
STEP 3:
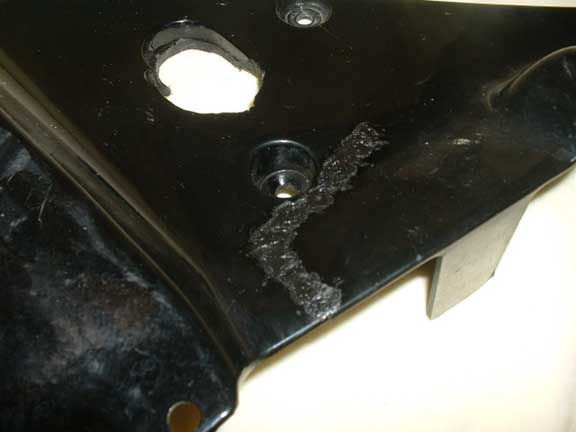
STEP 4:
STEP 5:
Using a Dremel tool and a round cutting head, gently and slightly recess the outside of your weld (the part that will be painted and seen). Leave the inside alone, it adds strength, and nobody can see it anyhow…..
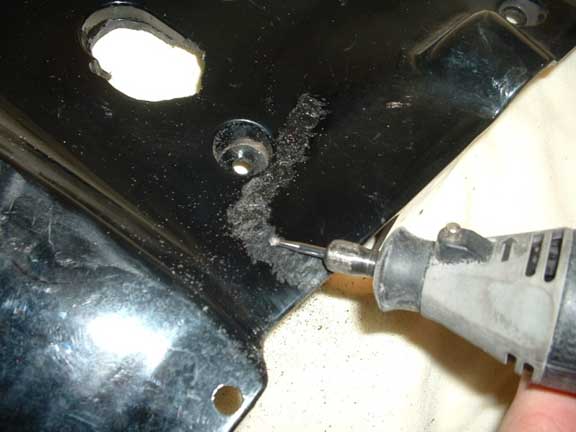
STEP 6:
Use a Scotchbrite pad and scuff the welded area (this is actually a primer/paint prep process). Wipe down the welded area with paint thinner to thoroughly clean it. Use bodyfiller to fill the slight void where you smoothed out your weld with the Dremel. Let the bodyfiller dry, and sand it smooth with 220 grit. Your painter should be able to take it from here!